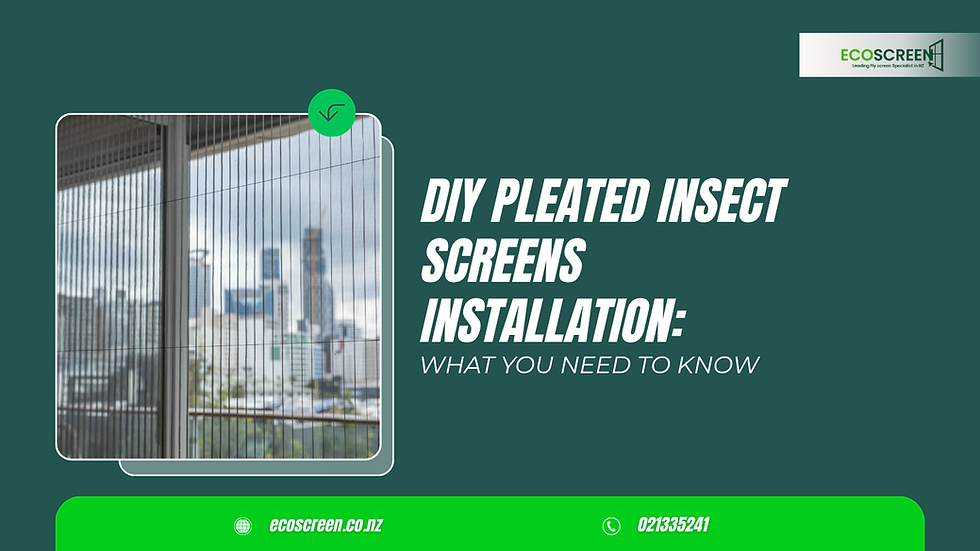
DIY Pleated Insect Screens Installation: What You Need to Know
- ecoscreennz flyscreen
- Jul 11, 2025
- 4 min read
Updated: Jul 18, 2025
With Auckland’s beautiful yet buggy weather, keeping windows open can turn your blissful evenings into a battle with buzzing intruders. While professional installations are great, why not try something more hands-on? Whether you are tired of spending money on chemical sprays or just love a good weekend project to block the flying gatecrashers, a DIY pleated fly screen in Auckland gives you full control and lets you tailor it to your space.

Why Go DIY with Pleated Fly Screens?
DIY is not solely for crafts. It is a proven smart move in terms of installing pleated screens in Auckland. Pleated screens collapse neatly like an accordion when retracted. These pleated fly screens for doors provide a sleek, smart and space-saving solution for sliding doors, bi-folds and wide openings. These apply to windows too. Installing these yourself gives you freedom over sizing and positioning.
Surprisingly, the task is easy if you follow the steps correctly. These are easy to install and fully inspected before dispatch. On top of that, you can add the proud “I did it” when someone compliments your neat and tidy insect screens. Here comes the core part of knowing the process clearly.
An Ultimate Guide to Installing a DIY Pleated Fly Screen
First things first, make sure you have all the necessary tools handy before even breaking down the cost for pleated fly screens for windows or finding the best texture of pleated door screens online to complement your wall.
Tools like measuring tape, screwdriver or drill, pencil or marker, scissors or utility knife and mounting brackets or adhesive tapes are quite important to have by your side while you charge up for the ultimate game to begin.
1. The Measurements
Even before browsing the suitable pleated fly screens online you need to measure the height and width of your window or door opening where you want to install the screen. Use a steel measuring tape to meet precision and measure more than once to mitigate the chances of silly mistakes. Also don’t forget to record the inner dimensions noted as pleated screens are usually installed inside the frame.
2. Kit Selection
Choose an innovative pleated fly screens kit that fits the size and style of your door or window. Some kits come in standard sizes and can be adjusted at home to fit any opening. Other kits are made-to-measure which means you will definitely need to give the supplier your exact measurements so they can build a custom screen that fits perfectly.
Look for screens that are UV-resistant which will make sure that the mesh won’t easily fade or become brittle under Auckland’s strong sunlight. A durable mesh will stay in good shape for many years, even with daily use and changing weather.
3. Clean the Surface
Cleanliness is the key. Use a damp cloth to clean the surface before installation. Ensure the area is completely dirt-free. If the surface is greasy or dirty, adhesives might not stick properly over time.
4. Installation
Begin your DIY journey by installing the top and bottom tracks first. Make sure everything is at level for a smooth movement. Add the side frames next. These will hold the mesh in place and ensure the screen retracts correctly. Fix the side rails using screws provided in the kit. Again check the alignment to cancel out any further glitches.
5. Slide the Mesh
Now carefully slide the pleated mesh into the installed tracks. This might involve attaching the pleated mesh to the handlebar and guiding it between the top and bottom rails, which will ensure it folds neatly into pleats. Most screens attach via clips or a tension system. Make sure the mesh opens and closes smoothly without sagging.
6. Check Operation
After installing the mesh screen slide the mesh panel back and forth to make sure it moves smoothly and folds up neatly when you close it. If it feels tight or does not move well, check that everything is lined up properly and the screws are in the right place. Even if things look absolutely fine it is a good idea to double-check your installation.
Note: Before you start your DIY read the instructions, work in good daylight and if possible, have a helping hand for easier and more accurate installation.
How to Maintain Pleated Insect Screens in Auckland?
To keep your pleated insect screens in good condition all year round especially in Auckland’s humid and coastal climate gently vacuum the mesh to remove dust occasionally. Clean the tracks often to prevent salt or grime buildup and lubricate sliding parts when needed for a smooth operation.
Whether you live in Ponsonby, Howick or anywhere else in Auckland adding insect screens is a smart upgrade. Installing pleated insect screens yourself is a simple way to make your home more comfortable. With a bit of patience and careful work you can enjoy fresh air without bugs getting inside. Just take your time choosing the DIY pleated fly screen kit online to avoid problems later. But there are always options available for professional fly screens installation service if you want to take guidance in due course.


Comments